


How to Remove Corrosion From Car Battery Terminals Safely
That white or blue-green crust around your battery terminals can look worse than it is. A dirty connection may be all you need to deal with, especially if the case and cables are still sound. But before you scrub it away, check for damage that a brush cannot fix.
To remove corrosion from car battery terminals, follow your vehicle’s shutdown procedure, disconnect the cables, and clean the battery posts and the inside of each cable clamp. Remove the cleaning residue and let everything dry before reconnecting. On a conventional negative-ground vehicle, the negative cable comes off first and goes back on last.
To remove corrosion from car battery terminals, start with an intact, accessible 12-volt lead-acid battery and follow your vehicle’s shutdown instructions. Disconnect negative first, then positive. Use an approved battery cleaner or baking soda and water externally, clean the posts and clamp interiors, remove residue, and dry thoroughly. Reconnect positive first, then negative. Stop if the battery is leaking, swollen, cracked, unusually hot, or otherwise damaged.
Key Takeaways
- Cleaning can improve a poor connection, but it cannot restore a failed battery or damaged cable.
- On conventional negative-ground vehicles, disconnect negative first and reconnect it last.
- Keep cleaner outside the battery and away from vents, sensors, and electrical connectors.
- Follow model-specific instructions for shutdown, terminal torque, and any required relearning.
First, Make Sure the Battery Is Safe to Clean
Start by checking what kind of battery you have. These instructions are for external corrosion on an accessible 12-volt lead-acid battery, including an AGM battery when its maker permits the procedure. If yours is a lithium low-voltage battery, a hybrid or EV traction battery, or a battery you cannot safely reach, use its specific service instructions or arrange help.
Look at the case and connections before touching them. A little crust on the outside is one thing; a loose post, split clamp, or corrosion creeping beneath cable insulation is another. The battery inspection and servicing guidance explains when damaged batteries or cables need replacement.
Do not clean, charge, or jump-start a battery that is cracked, swollen, leaking, frozen, unusually hot, hissing, or giving off a strong rotten-egg odor. Move away and arrange qualified assistance. For routine work on an intact battery, wear splash goggles and chemical-resistant gloves, remove metal jewelry, and keep flames, cigarettes, and sparks away.
Read the Disconnect Instructions Before Loosening a Clamp
Check the manual before you loosen either clamp. Some vehicles need a waiting period after the ignition is switched off, and you may have to reset settings or relearn certain functions after reconnecting. This 12-volt battery service procedure is one example of why those details need to match your vehicle.
Do not assume you need a memory saver just because a general cleaning guide recommends one. A backup power source can leave disconnected vehicle cables energized, changing the precautions needed. Use one only under a vehicle-approved procedure; otherwise, follow the manual’s power-down and relearn instructions.
Why Does the Negative Cable Come Off First?
On a conventional negative-ground vehicle, the negative battery connection is connected to the body and engine. If it remains connected, a wrench touching the positive post and bodywork can create a short circuit. Removing the negative connection first reduces that particular risk, although bridging the battery’s two posts is still dangerous.
What You Need
Set out your supplies before disconnecting anything. Use a wrench or socket that fits the clamp fasteners properly, and have somewhere to collect the dirty towels and residue. Keep the cleaning brush for automotive use afterward, away from household cleaning supplies.
Battery-cleaning supplies
- Splash goggles, chemical-resistant gloves, and protective clothing.
- A correctly sized wrench or socket and the specified tightening tool.
- A nylon brush and a suitable battery-post and clamp cleaner.
- A labeled battery-terminal cleaner, or baking soda and water if permitted.
- Clean water, disposable towels, and a container for contaminated residue.
- A compatible terminal protectant, used according to its label.
Baking Soda or a Commercial Battery Cleaner?
Baking soda and water can neutralize acidic residue on the outside of a lead-acid battery. A purpose-made battery cleaner is another option, with application and rinsing directions on its label. The manufacturer’s battery-care chart recognizes both approaches for external corrosion.
If your battery maker permits baking soda, the manufacturer’s cleaning FAQ gives a mixture of one part baking soda to five parts water. For a small batch, that means one tablespoon of baking soda and five tablespoons of water. Mix it in a separate container, and follow your own battery maker’s instructions if they call for something different.
Apply the mixture sparingly with a brush or cloth, keeping it outside the battery. Bubbling can occur as baking soda reacts with acidic residue, but fizzing does not measure the battery’s health. You still need to remove the deposits, wipe away the cleaning mixture, and dry the contact surfaces.
How to Remove Corrosion From Car Battery Terminals
The steps below apply to an accessible top-post battery in a conventional negative-ground vehicle with no special isolation requirements. Find the molded plus and minus markings before you begin; cable color alone is not enough. For side terminals, quick-release connections, multiple batteries, or sensor assemblies that change access, follow the vehicle-specific procedure.
- Park and shut down correctly. Apply the parking brake, switch off the ignition and accessories, and follow the manual’s required shutdown wait. Work in a well-ventilated area with chargers disconnected according to their instructions.
- Disconnect the negative cable first. Confirm the minus marking, loosen the clamp, and lift it away without twisting the battery post. Secure and insulate the cable end so it cannot spring back onto the post.
- Disconnect the positive cable. Loosen the positive clamp and secure it away from the posts and metalwork. Never let a tool bridge the two battery posts or the positive post and grounded metal.
- Dampen and treat the deposits. Apply the approved cleaner or baking-soda mixture sparingly to external buildup. Keep vent caps in place and cleaner out of vents, openings, sensors, and connectors. Avoid creating airborne dust.
- Clean the posts and inside the clamps. Use a suitable post-and-clamp cleaner on the battery posts and inside the disconnected clamps. Remove deposits without grinding away metal. Do not hammer, pry, or force a stuck clamp off a post.
- Remove the residue and dry. Follow the cleaner’s rinse directions while controlling runoff. For the baking-soda method, lift residue with towels and small amounts of clean water, then dry the posts, clamps, and case thoroughly. Do not hose down the engine bay.
- Reconnect positive first, then negative. Seat each clamp correctly and tighten to the specification for your vehicle and terminal hardware. Stop if a clamp cannot secure properly; extra tightening can cause damage.
- Protect and finish. Apply a compatible terminal protectant to the assembled connection as directed. Refit protective covers and anything removed for access, account for all tools, and complete the manual’s relearn instructions.
Once the connections are restored, remove all tools and cleaning supplies before starting the vehicle. Check that the clamps stay seated and that covers, cable routing, and any disturbed vent hose are restored correctly. Start the vehicle outdoors or with appropriate exhaust ventilation, then follow the manual’s instructions for any settings or functions that need relearning.
Do not overlook the inside of the clamp. The battery can look clean from above while deposits remain where the clamp touches the post. If the metal is deeply pitted, the clamp is cracked, or the cable strands are damaged, stop and have the connection inspected rather than scrubbing harder.
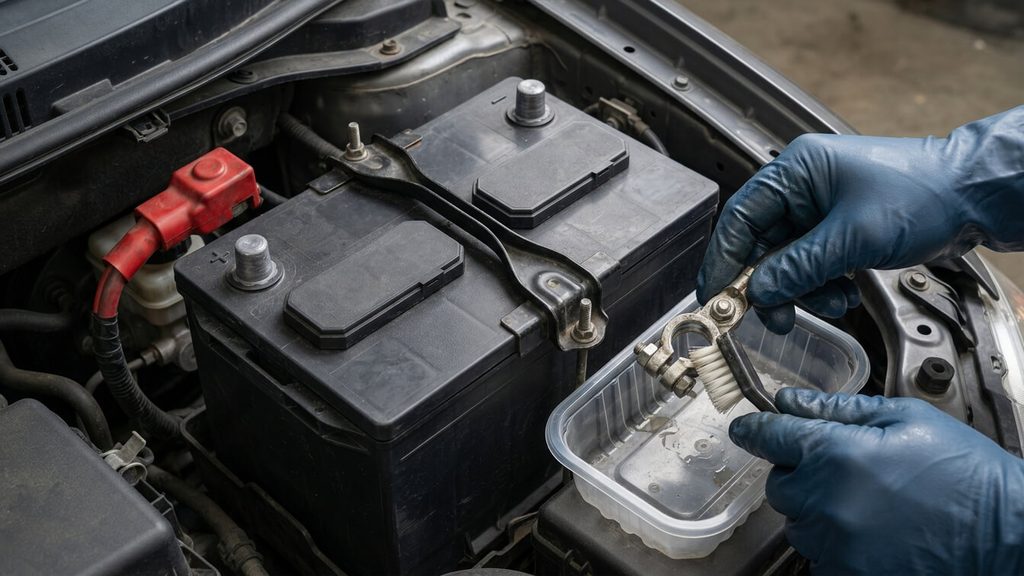
Wash your hands after removing your gloves and keep contaminated tools away from food and household items. Battery terminals and related parts can contain lead compounds. Capture residue rather than leaving it on the driveway or transferring it to other surfaces.
Where Should Terminal Grease Go?
Reconnect the clean, dry clamps before adding an exterior protective coating. The battery manufacturer’s corrosion-cleaning guide advises keeping dielectric grease out of the contact area between the post and clamp. Follow the protectant’s label rather than covering everything with a thick layer.
A protective coating can slow new buildup, but it cannot repair a leaking post seal or compensate for a loose clamp. Keep protective boots fitted and the battery securely mounted. If deposits return quickly, investigate the cause rather than adding more coating.
Mistakes That Make the Job Harder
Using Cola or Other Household Cleaners
Cola appears in some older battery-cleaning advice, but it can leave a sticky residue. You already have better options: baking soda and water or a labeled battery cleaner. Avoid improvising with vinegar, household sprays, or mixed cleaners that lack instructions for this application.
Opening the Battery or Flooding the Area
This is an exterior cleaning job, not an electrolyte service. Do not open a sealed battery, remove caps to clean beneath them, or add baking soda inside the case. Keep all cleaning liquid controlled so it does not carry residue into the battery or nearby electronics.
Blowing the Powder Away
Battery residue should not be scattered around the engine bay or workspace. Avoid compressed air and vigorous dry brushing; instead, capture the damp waste. The battery safety information also warns against releasing contaminated material into waterways, so keep runoff out of storm drains and follow local waste-disposal guidance.
Cleaning, Testing, or Repair: What Comes Next?
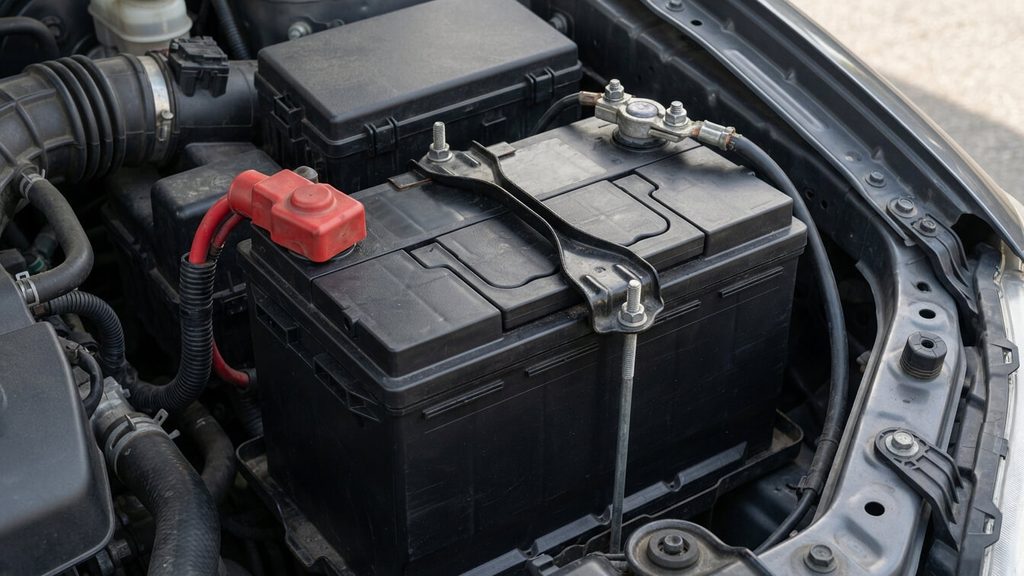
A clean-looking battery is a good start, but it doesn’t tell the whole story. What matters next is whether the connections are sound and the car starts normally. Use the findings below to decide whether you are finished or need testing or repair.
| What you find | Next step |
|---|---|
| Light deposits, intact parts, secure clamps | Clean using the approved procedure and recheck starting behavior. |
| Cracked clamp or corrosion beneath cable insulation | Arrange cable or terminal inspection and repair. |
| Leaking case, loose battery post, or swelling | Stop the cleaning job and arrange qualified battery service. |
| Slow cranking continues after cleaning | Have the battery and starting and charging circuits tested. |
What If the Car Still Starts Slowly?
If the engine still turns over slowly, do not assume you missed a spot. A weak battery, a cable problem, or another fault in the starting or charging circuit can cause the same symptom. Have those checked instead of repeatedly cleaning an already sound connection.
A basic voltage check can provide a useful clue about charge level. The guide to testing a car battery with a multimeter explains the check and why voltage alone cannot establish starting capacity. An appropriate battery health test may still be necessary.
The battery’s age is worth considering, too. The guide to how long car batteries last explains lifespan and warning signs that can help you plan a test. Make the replacement decision based on the battery’s condition and the test results, not the crust around a terminal.
Conclusion
To remove corrosion from car battery terminals, begin with a battery that is safe to work on and the right instructions for your vehicle. Clean the posts and clamp interiors, remove the residue, and reconnect everything in the correct order. If a clamp will not tighten properly, the buildup soon returns, or starting is still weak, the next step is testing or repair.
Frequently Asked Questions
Can I clean battery corrosion without disconnecting the cables?
For the post-and-clamp cleaning described here, disconnect the cables using the vehicle’s approved procedure. Cleaning only around the outside leaves the hidden contact surfaces untouched. If disconnection requires special equipment or instructions you cannot follow, arrange service.
Which battery terminal do I disconnect first?
On a conventional negative-ground vehicle, disconnect negative first, then positive. Reconnect positive first and negative last. Follow the specific service procedure for unusual grounding arrangements, multiple batteries, or special isolation requirements.
Does battery corrosion mean I need a new battery?
Not automatically, because surface buildup alone does not establish battery failure. An intact battery may need cleaning and testing. A leaking case, loose post, damaged clamp, or failed health test requires a different response.
Why does corrosion keep coming back?
Recurring corrosion can involve a leaking seal, connection damage, heat, or a charging-system problem. The color or affected terminal alone does not confirm the cause. Have the battery, cable connections, and charging system checked.

